|
|
|
| | ||
      |
   |
| www.oldlandwindmill.co.uk |
| Making the Brakewheel |
Right from the early days of the restoration project it was realised that the brakewheel would have to be rebuilt, hopefully using some sound parts of the old wheel. When we got the DEFRA grant it stipulated that the sweeps and brakewheel were to be built by a millwright and this contract was given to Chris Wallis and his partner, David Emperingham. When Chris became ill, DEFRA agreed that we could build the sweeps under the supervision of millwright Danny Jarmann. After the death of Chris it was agreed that we could also make the brakewheel, under Danny's supervision, as David Emperingham had too much work on his books and he returned to us the felloes, cut to size from the Brighton Council elm, and segments of the elm to make the brakeshoe. |
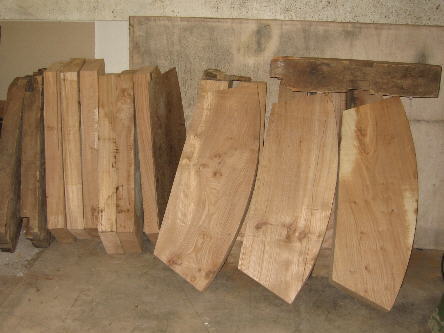 Blanks for felloes and one from original wheel. |
After the hurricane of 1987, John Annett had obtained a fallen Elm tree from Brighton Council which had been sawn into planks of the correct thickness and stored in "sticks". When we came to order timber for the sweeps and brakewheel in 2005 we found that the elm tree had survived very well. The top boards were rotten and worm had got into the sapwood but we were able to cut out enough sound timber. |
 David cutting out elm felloes. |
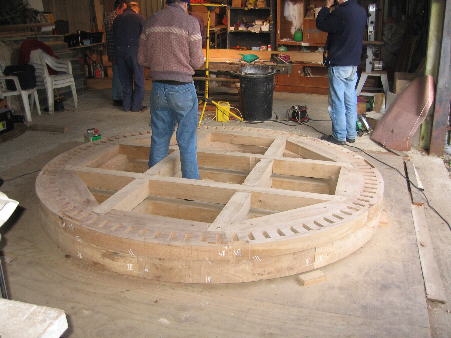
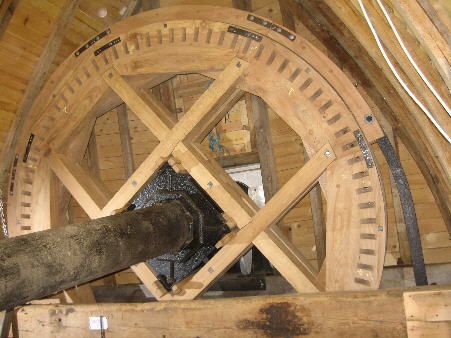
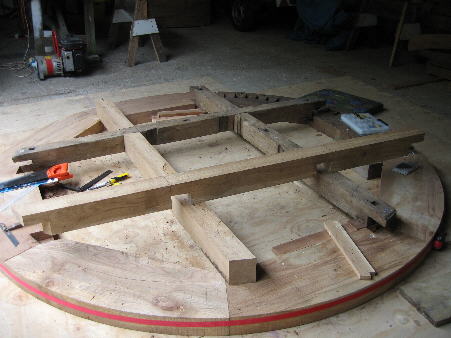
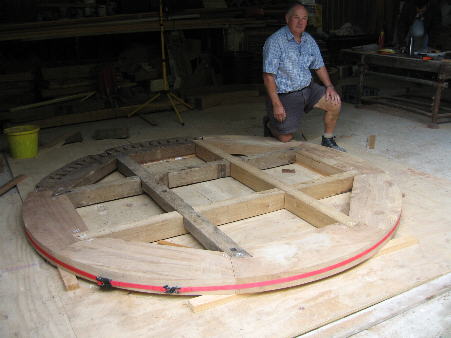
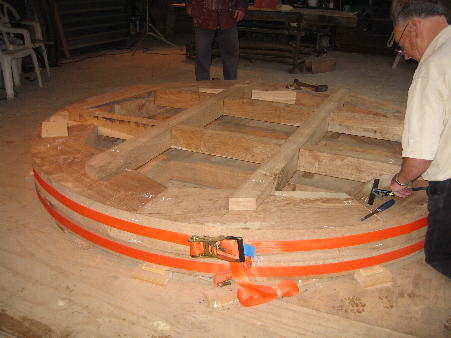
The brakewheel is 104" in diameter. The rim consists of eight segments (FELLOES) cut from 3.5" elm as one layer and a second layer of eight felloes cut from 5.5" elm and laid so that the joins lay across the middle of the felloes in the other layer. The rim is supported onto the windshaft by spokes (CLASP ARMS). These are made of oak 4" x 4.75" and there are eight of them. 88 hornbeam teeth are mortised through the complete thickness of the rim. It was decided to use two of the original felloes and four of the original clasp arms. |
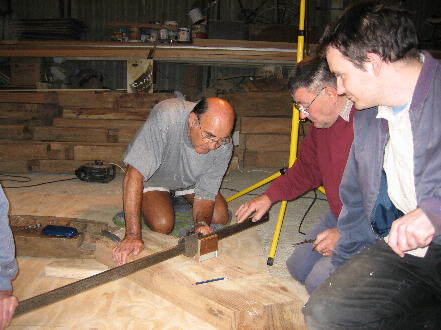
The Start. August 15th 2006. A level floor was made on the barn floor by screwing two layers of blockboard together. A circle 104" in diameter was marked out using a trammel made by Michael Peat from Jill windmill. |
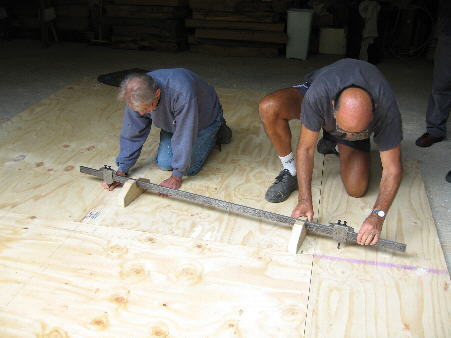 Danny and Mick using the trammel to mark out the Brakewheel. |
 The felloes. |
Chris Wallis had shaped the felloes to a slightly oversized blanks and the 3.5" thick felloes were laid out on the template. Six new and two original. |
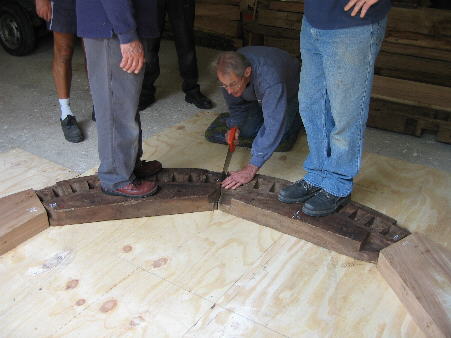 Using a handsaw to cut down between the joins. This trues up the faces between felloes and progressively reduces the diameter until it fits the template. |
 The layer of 5.5" thick felloes was laid on top of the 3.5" felloes with the joins in the middle of the underneath felloe. This is trued up, as before, using a hand saw. |
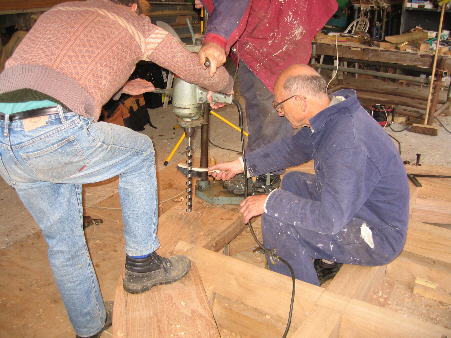
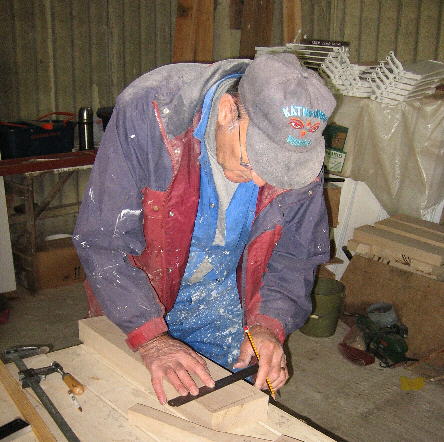
 Marking out the circle for the teeth mortises. |
 Marking out the position of each tooth mortise. |
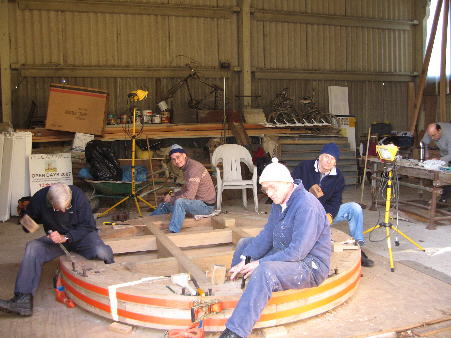
 Michael Peat, Danny and Philip. "How many teeth did you make it, 88 or 89 ?" |
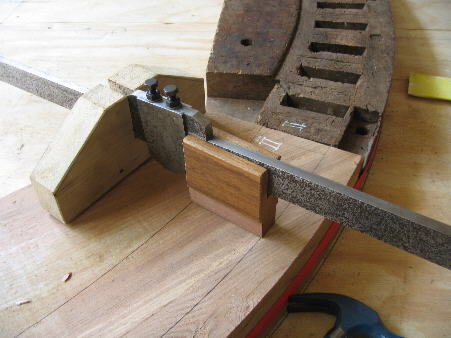
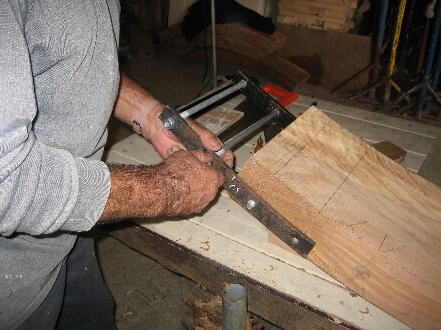
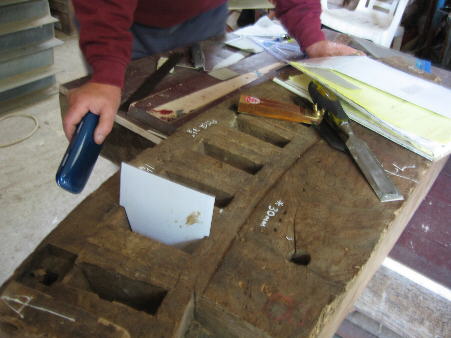 Metal template for teeth being checked for size in old section of a felloe. |
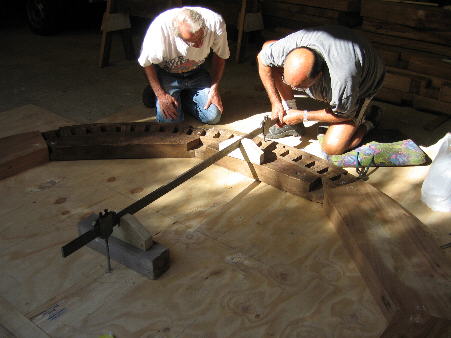
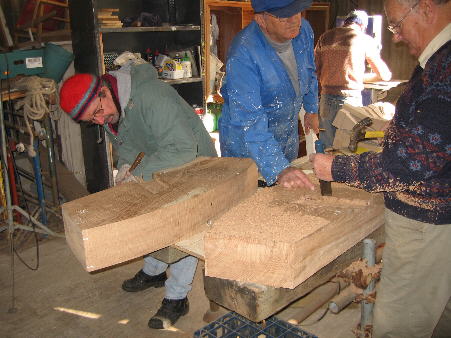
 Two new clasp arms and two originals being jointed to fit each other. |
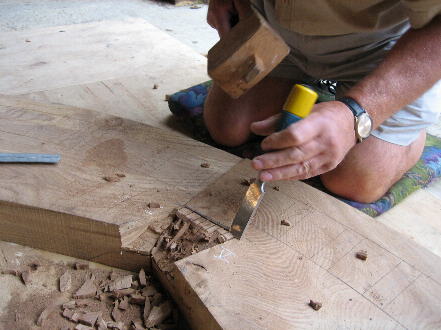 Cutting out joint in 3.5" felloe to let in clasp arm. |
 Two original and two new clasp arms let into 3.5" felloes with a web strap to temporarily hold all in position. |
At this stage it was decided that using the two original felloes and four original clasp arms would build in a weakness for the future. We had sufficient of the seasoned elm to cut out two new felloes but finding well seasoned oak to cut out 4" x 4.75" clasp arms was more of a problem. |
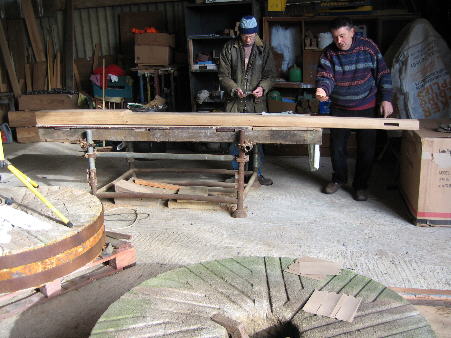
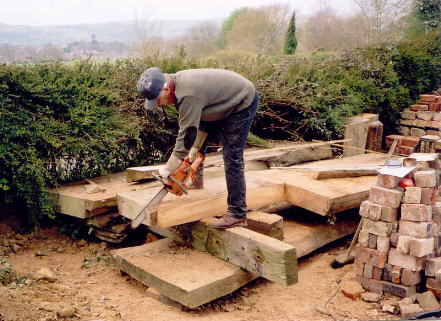
 Selecting a plank of five year air dried oak at the timber-yard in Whitesmith, Sussex. |
|
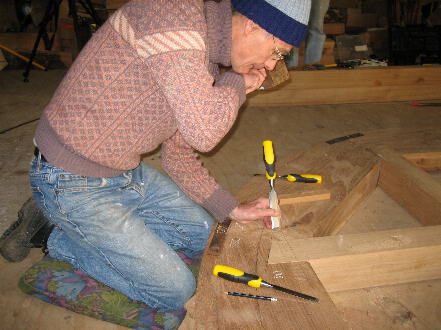
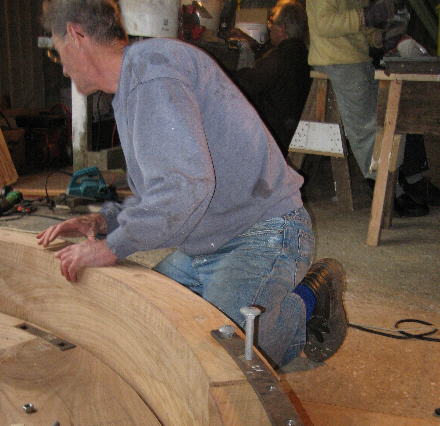
"OUCH" ??? As each join is completed it is numbered, cut in with a chisel in Roman numerals, as the job is continually being taken apart and re-assembled. Each felloe is joined to its neighbour with an iron plate, let in, and hand forged bolts go through both layers of felloes. We had most of the original bolts but James Price, the blacksmith at Hurst made us three new ones. |
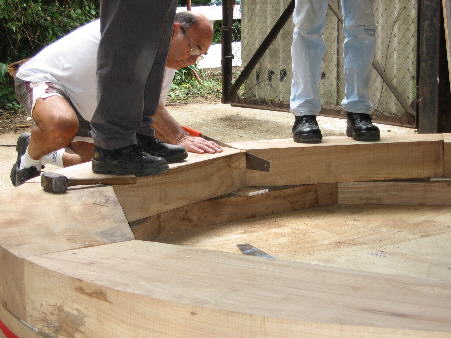
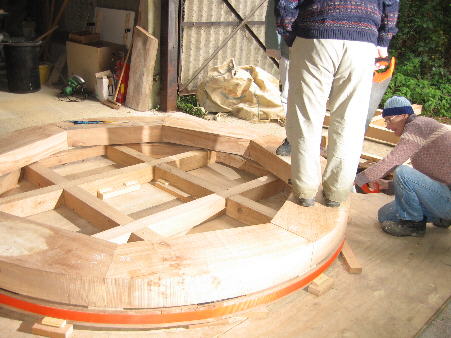 5.5" layer of felloes laid out on top of the 3.5" felloes. The joins are positioned over the centre of the underneath felloe. |
 The second set of clasp arms are joined together and are ready to be let into the 5.5" felloes. |
 Colin and Roy cutting the 5.5" felloes to let in the clasp arms. |
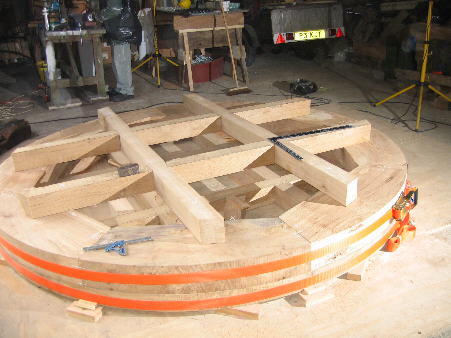
 Second set of clasp arms let into the 5.5" felloes. |
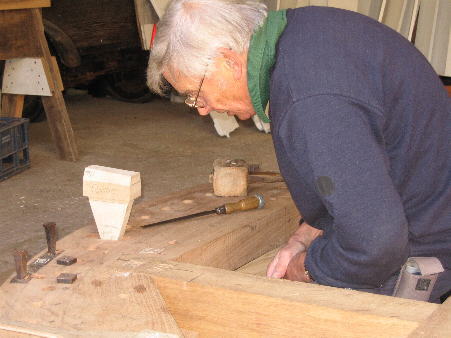
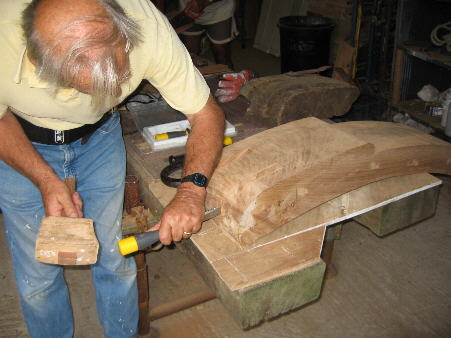
Danny has been supervising all the above and also making the brakeshoe. |
 Lengths of elm were cut to fit the diameter of the brakewheel, two layers glued and oak pegged together to make up 9" wide. |
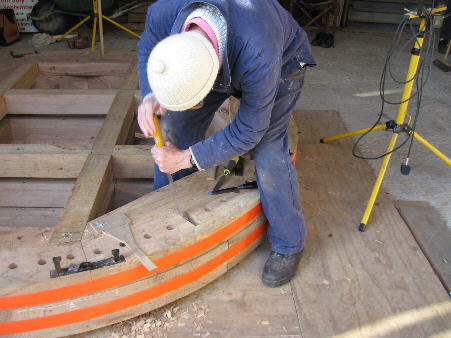
 Positioning the brakeshoe. |
 Curved iron plates are let in and through bolted to join the eight sections of brakeshoe together. |
 Gordon cutting a recess in one end of the brakeshoe to let in a shackle. |
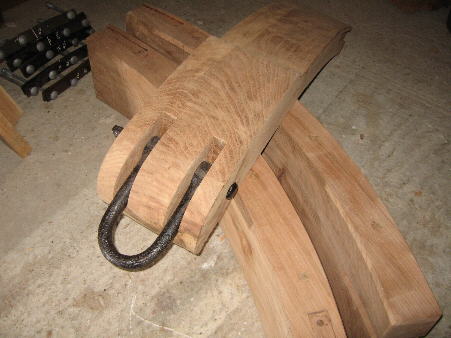 The shackle to anchor one end of the brakeshoe to the mill body. |
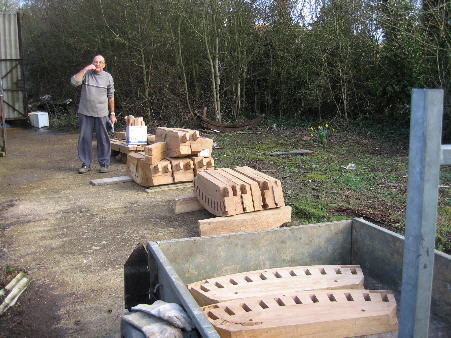
 Danny marking out teeth to be cut from the hornbeam. |
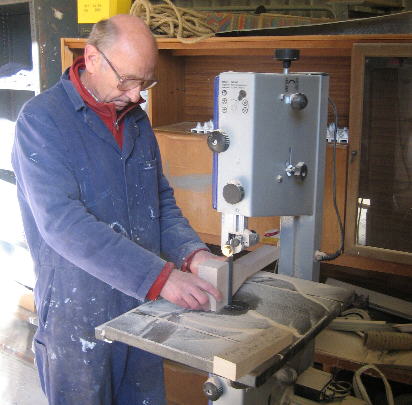 Fred cutting teeth. 88 required. |
|
|
 ; ; |
|
|
   Click here to visit Techpoint website |